Showing posts with label stitch. Show all posts

27 February 2015

Make It Happen


I don’t talk about it a lot but my day job gets me down quite a bit. I never ever imagined that I would be sat behind a desk 8 hours a day working for a pension and investment company... It is not me and it is not what I want to do. Growing up was 100% sure that I would be a vet, until I hit high school and  teachers started to tell me it was really really hard work, which stupidly (but obviously) discouraged me. I feel as though I’m wasting my life doing something that means nothing to me or to others, and that makes me feel pretty shit. I generally have a cry at Dixon every few months and he has said the same thing every single time; DO SOMETHING ABOUT IT. But I never did do anything about it; it all seemed unachievable and overwhelming.

Leeds is splitting at the seams with independent companies and super talented people. And I am also extremely lucky to have some of these awesome people in my life; Dixon is a screen printer, Kate is a film-editor and producer, Michael is starting a educational conservation business, Luke & Charlotte built Awesome Merchandise, Charys built The Pop-Up Booth, Harriet, Sam & Rosie are all unbelievable tattoo artists and Matty & James run a gig promoting business; Dirty Otter.

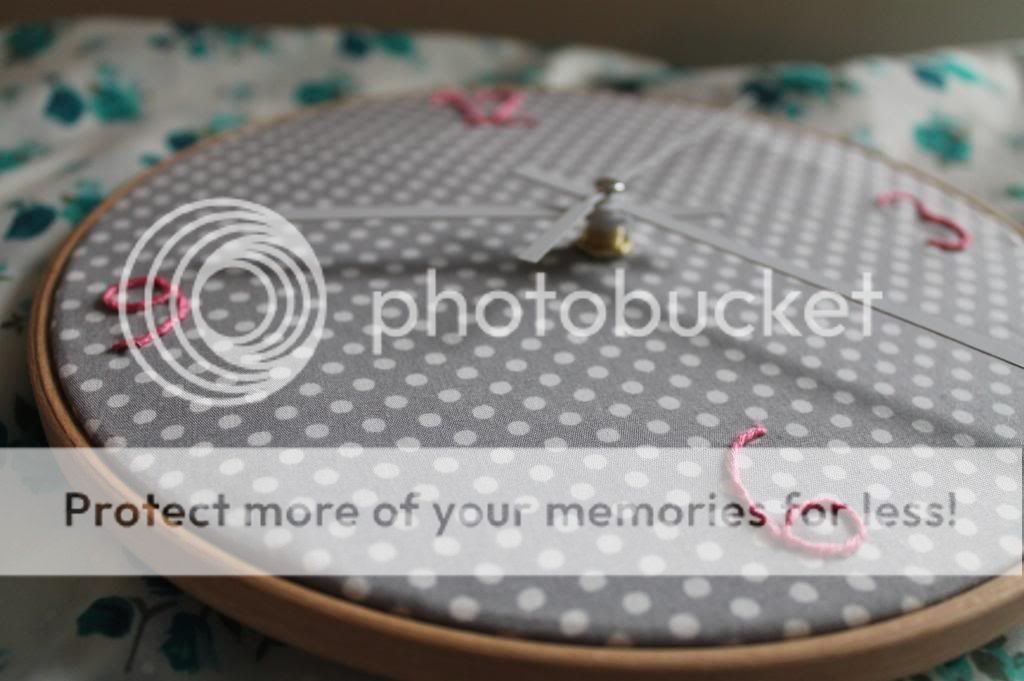
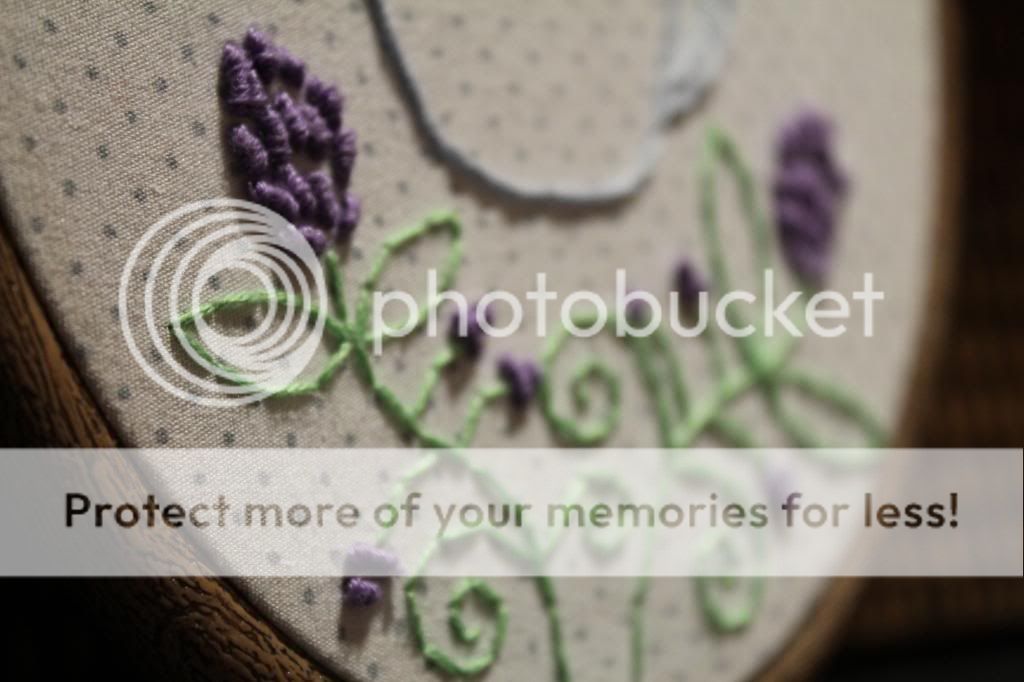
So, this time I am going to do something about it. I’ve had a proper think about it and plans are coming together! It’s extremely exciting. So, this hoop is a thank you to Dixon for his patience and smart words. And it is also for those who have inspired me and shown me that it is possible to do what you want to do! Whether this is being awesome in an office, in a classroom, for a bank, for a bar or for your own company. I'm going to stick this up on the wall of my brand new craft room (which I'm putting together this weekend!) as a reminder to myself that only I can make it happen.

____________________

9 February 2015

Get Bent.

 I seriously love the Simpsons, and have been planning a Simpsons quote hoop for ages now. I finally settled on a simple 'Get Bent!'. I'm not 100% sure when I originally started this hoop, but it lay untouched for a while. I ran out of the original colour I was using and accidentally started with a different shade of pink (I didn't realise until I saw it in full day light the next day!) and I thought I had ruined the whole thing. I was really annoyed because it had taken my ages to get the lettering right and I was really loving it. I eventually picked it back up and decided to finish it off using a few different shades. And I love how it turned out. What do you think? I don't normally show the backs of my work, but this negative space technique is pretty messy!

__________________

13 October 2014

Explore.


I have always really sucked at satin stitch, but I'm pretty happy with how this turned out! Although its a little wonky if you look up close. I freehanded the whole design other than tracing a circle for the outside of the planet. I regret using a dark colour for the lettering, I think a gold colour would have looked a lot better. I couldn't face unstitching it though! This will eventually go on our living room wall... when we actually get around to putting stuff up on there.

____________________________

14 July 2014

Beet It.

This was so much fun to finish. I started ages ago, but ran out of thread halfway and managed to finish it off last week. I was thinking of adding some lettering but I like it just the way it is. Its the first time I have embroidered something on a bright fabric and I really like the way it looks. What do you think?

______________________

12 June 2013

50 Home Crafts - Stitched Clock - 4/50


I made myself a stitchy clock. What do you think? The clock mechanism is from eBay and cost about £4. It came from Hong Kong with no instructions. Dixon had to put it together for me. The stitching took about 30minutes and the fabric is some scrap I had left over! I'm going to re-inforce the back with a bit of card so the hands don't rest against the fabric. I'm pretty happy with it!

______________

3 May 2013

Five Sewing Goals: The Skirt


I made that skirt! It's the second one in this style I have made, but it's first I am completely happy with and super happy (and smug) to wear out in public. I wore it to work the day after I finished it over a plain black vest and with a black cardigan (which I thought looked super smart). Then I found this super cute spotted vest in H&M, perfect paring!

The 'One Hour Skirt' title isn't misleading at all. You really can bust out these babies that quickly! The tutorial is super easy to follow, I had no issues with it at all. I only made one alteration; I added about 6" to my hip measurement so that there was more fabric to bunched up. What do you think?

What next? I want to make a midi-skirt (or two) with pockets, using the same basic pattern. I have already seen some beautiful floral fabric I want to use. AND, I may have found the dress pattern for me over at Dixie DIY.


_____________

The tutorial I used can be found here: One Hour Skirt. &, in case you missed it, you can read my other Sewing goals right here !

25 April 2013

Clare Young - Folk Art Needlecraft

I have been slowly building up a collection of craft books recently; They're an endless source of inspiration for me! I'm excited to share this particular craft book with you, it has helped me out so much lately. Folk Art Needlecraft is full of amazing ideas for cute things you can make for around the house or wear. You'll learn how to make zipper make-up pouches (which I have gone crazy for), the most beautiful picnic bag, pillows, quilts, hats and the sweetest little dolls.


This isn't just a basic how-to collection though, right at the back you have a selection of amazing motif templates. Clare Young has pulled inspiration from all over the world, from Peru to India to Spain! These designs make your home-made pieces into something your friends will pick up and swoon over (I mean, I definitely would!). It shows you what stitches to use too, to make the design perfect.

Thats my favourite part of the whole book; the super straight forward illustrations on a selection of different embroidery stitches. I found this bit so amazingly helpful. I had no idea adding a few different type of stitches could make something look so much more professional!

I was super excited to get started on one of the projects. I didn't know which one to choose! I decided on a Reindeer Pillow (because the design was the cutest!). It gave me chance to practise and master a bunch of amazing stitches. The bullion knots was once my nemesis, now though? Easy! I'm about half way through now (it has taken me a whillle to get to this stage). What do you think? I am pretty happy with it so far :)


_____________

This little book is perfect for beginners and masters alike. You can pick it and follow a step by step from start to finish, or pick out a embroidery design to add to anything you like. If you want to give the beautiful book a try, and I really really recommend it Folk Art Needlecraft by Clare Youngs is published by Cico Books at £12.99 and is available from www.cicobooks.com.

8 April 2013

Damn Fine Coffee.

I have been teaching myself a whole bunch of new embroidery stitches. When I first decided to give embroidery a go I didn't read up much about it (or anything, really). I just went into Hobby Craft, bought a hoop and a couple of colours of thread and started. All my other finished hoops have been one stitch type. So, I decided it was time to get swotting up. Bullion knots are now my worst nightmare/best friend.


I finished this quick design over the weekend. I am particularly pleased with my lettering which I usually find really tough. (And thank you to Terri for the Twin Peaks quote suggestion!). I wasn't really thinking about what my finished design would be when I started (other than it being coffee orientated) but I am pretty happy. I'm probably going to go back and add a scattering of coffee beans as, after seeing these photos, I think its a little bare. What do you think?


I've had a couple of people ask me recently how I finish off the backs of my hoops so that they lay flat and look tidy. Here is how I do it (I'm sure there are probably neater looking ways out there): Firstly, it's important not to cut your fabric too close to the edge, leave an inch or two (This rule stands even if you aren't finishing off with this method). Running stitch around the whole edge, pull the threat tight so the fabric pulls in to the centre and tie a knot. Easy!


5 April 2013

Sewing Goals

Oh god, I go on about this quite a lot don't I? I am a new sewing obsessive. I have the basics down. I can sew straight, I can follow a pattern and I even know some of the fancy stitching words. Now, I'd like to following more detailed patterns, add stuff to stuff and practice. It's time to actually MAKE some things. Things I can wear and use, and be super proud of. The perfect opportunity to set myself some goals!


1. Collars - I love collars. I'd like to learn to make a detachable one, but also to add them to a dresses and tops. Peter-Pan ones mainly. There are a whole load of patterns out there to help me.

2. A Skirt (or two) -  Namely, the Miette from the amazing Tilly and the Button. I have already tackled the very simple One Hour Skirt with some material I had spare, but I will be making it again a little longer and in some fabric I'll actually wear.

3. Pajama Bottom - For Dixon and me! There are a whole load of patterns out there, I can't decide which one to choose. But I do love me some PJ bottoms. Especially when I can choose the fabric! Watermelon PJs are a definite.

4. A Zip-Close Bag - Okay, this may sound pretty simple. I want a light, biggish bag to use whilst in Barcelona, or at the beach this summer. One that is secure and tough. Maybe it can have compartments? Maybe padding too? I'll probably make this from a design in my head.

5. A Dress - I wasn't going to put this on here, because it terrifies me! But what is the point in setting goals if they are easy to achieve? Is something from this store too ambitious? I'd love to make myself a 50's dress. I'm going to track down the perfect pattern.


I'm going to give myself 5 months for this challenge. I'll share with you each thing I make, my lessons learnt, patterns used and rate them on how easy they are. I can't wait to share an outfit with you where I have made the main thing!

I know there are a few of you our there that sew, or are learning to, so maybe I'll inspire you to make yourself something amazing! Most of all though, I'd like you to share you tips with me. Whats your favourite sewing blog? Have you made anything amazing recently?

______________

Little Reminder: My guest poster search is still open, if you have something amazing to share head a read of this post and get in touch! Thank you to everyone who has already been in touch. I'll be getting back to everyone mid-next week.

27 March 2013

DIY Scrap-Work Cloud


I don't know about anyone else, but I just can't bring myself to throw away any fabric scraps I have. Those patterns are just too pretty to bin! I made a bag to hang on my craft room wall especially for scraps. And holy hell is it getting full!! I decided I needed to make something to make the most of those amazing designs.

I have a few ideas waiting for another snowy day. I made a patchwork cloud by hand a while ago. It's hung in our room every since! I love it. So decided it was perfect for this mini-project, this time on my machine! Here is how you can make your own;

You'll need:
     - Scraps! Any size, colour or pattern.
     - Material for your back (I used an old tshirt)
     - Iron
     - Soft Pencil
     - Stuffing
     - Sewing machine // or thread if you're doing it by hand


How to:

     - Cut your scraps down into rectangles or squares. Size is up to you, just avoid curves.
     - Play around with your material arrangement until you're happy with the colour and pattern balance. Pin it into rows!
     - Sew each piece on each row together, iron your seam allowance down. Now pin each row together.
     - Sew your rows together! Iron again so its all neat and flat.
     - Grab your tshirt, or whatever material you're using for your backing, and mark out how big your scrap front is. Inside this outline sketch out your cloud shape. This took me ages because I'm majorly indecisive.
     - Cut out your shape then pin your two pieces together. Inside out remember, so have both raw sides facing out. Sew around the whole cloud outline, leaving a 2-3" gap unstitched so you can turn the whole thing the right way around, turn it the right way. Use this gap for stuffing too!
      - Once you're stuffed and plumped out sew up the last gap by hand. Stitch in a hoop to hang it. Attach little bead for raindrops if you like. Hang, and admire!

____________

I think a collection of these would be super cute in a nursery window or above any bed! I love them. I'm thinking of making a huge one. What do you think? Is there anything you use your scraps for?
 
Lifestyle Blog // Nature, DIY, Coffee // By The Lock Lifestyle Blog // Nature, DIY and Coffee // By The Lock