Showing posts with label recipe. Show all posts

26 January 2015

Spicy Sweetcorn Grilled Breakfast Sandwich // Vegan Blogs

This was once of those 'I want something tasty for breakfast, whats in the house' recipe that turned out way better than a lot of the others. I am going through a serious sweetcorn stage (is that a thing?!) so it just made sense to make something based around the beautiful vegetable. It's sweet, spicy and super easy to make too. Not much beats a grilled sandwich in my eyes...
To make 2 sandwiches you'll need:
        - 150g of sweetcorn
        - Half a diced white onion
        - 2 cloves of garlic, finely chopped
        - Half a red chilli, finely chopped
        - 2 diced tomatos
        - Teaspoon of tomato purée
        - A handful of spinach
        - Thick sliced white bread
        - Salt and Pepper
Start my gently heating up a little oil in a pan and fry off your onion. Once your onions start to go transparent throw in your garlic and chilli, keep them moving so they don't burn. After 30-ish seconds add the chopped tomatoes and thpurée too. Add a generous pinch of salt and a few scrunches of black pepper. Stir and mush up with your spatular; It wont look very pretty at this point! Now, add your sweetcorn and mix it all up. After a couples of minute give it a taste and add anything it might need, more pepper? More tomato?  
Start heating up a griddle pan, you want it to be smoking hot. So you might want to open a window! Whilst it heats up start building your sandwich. On one thick slice of white bread put a handful of spinach and a pile of your sweetcorn mixture. If you have fresh coriander would be amazing to add at this point, as would be a sprinkle of smoked paprika. Press your second slice of bread on top and put it on the grill!
Flip your sandwich over when it starts to toast, it wont be the most sturdy sandwich so be careful! Once nicely toasted, slice in half and you're ready to eat. The whole thing shouldn't take you more than 10 minutes. AND, if you're super prepared, you can make the sweetcorn mix the night before and store in the fridge. I only made one sandwich with my mix and plan on using the leftovers to make a pasta salad! I love left-overs.
___________________

24 September 2014

2.5 Ingredient Blueberry Chia Jam // Vegan Blogs

Oh man, this jam is SO good and super easy. It only has two ingredients, which makes it just as easy to make a big jar as it is a tiny portion. Its such a good way to get chia into your diet too. All you need is your blueberries, around 1 tablespoon of chia seed per 100g of berries, than a tiny bit sweetener if you think it needs it; Maple syrup, agave, or plain sugar are all fine!


Throw your berries into a pan on a low-medium heat, as they start to cook mash them down with a masher or fork. When you have a lot of juice you can add your sweetener! Sweetener is totally optional and if you do decide to add some, you'll only need a tiny bit. Once you've got a juicy bubbly mush (technical term) add in your chia seeds and stir. Lower the heat right down and leave for 2 minutes so the chia can start to absorb some of the liquid; stir occasionally, just to make sure your jam doesn't stick. If it is getting too thick, add a splash of water and don't worry if it seems thin the natural pectin and chia will work together to thicken it up as it cools. Transfer your mixture into a jar (or jars), and leave the lid off to let it cool.


Seal, and refrigerate when its completely cool, it should last up to a week (but I always say follow your nose with food). Such an easy recipe, try it with any berries you have. The first time I tried this I used raspberries, which was a lot sweeter but just as good. You can have it on toast, crumpets, pancakes and it is the ultimate addition to over-night oats too!


____________________

10 September 2014

Orange, Carrot, Lemon & Ginger Juice.

Everyone around me seems to be getting ill. The season is changing, Summer is slowly moving into Autumn and people can’t handle that. They’re getting sick. And I’m scared. When I was a teenager I was sick (seemingly) all the time; colds, sore throats which nearly always lead onto chest infections. It sucked. Over the last 5ish years I have only been ill a handful of times. Actually, it’s well over a year now since I was properly sick. Even then it was nothing major; a day of a sore throat I think? 

Although I'm not the healthiest person I always keep an eye on what I'm eating. And, after a few weekend of not being at home, having house-guests and celebrations my cupboards and fridge are looking neglected and my diet has not been fantastic. This, and the looming germs have got me thinking that it’s probably a really good time to top up my vitamin intake. And you should too!

For your winter-ready juice you'll need:

4 Oranges, peeled – Full of Vitamin C, 1 orange should cover your recommended daily allowance.
4 big Carrots – Carrots are an amazing course of Vitamin K which is great for your blood and bones.
1 Lemon, peeled – They have loads of Folic Acid in them, which is great for your blood. (+ a ton of Vitamin C)
Ginger to taste – The benefits of ginger are endless. Anti-nausea, anti-inflammatory, it helps digestion and apparently its good for your lungs too! AND, it tastes amazing.

I always juice the toughest things first and the softest, on a lower setting, last. I am no expert though! Juice and enjoy right away, or refrigerate in an airtight swing top bottle over-night to have for breakfast (which is what we did!). But always always wash your juicer right away, its the absolute worst part and the longer you leave it the worst it'll get.


_____________________

19 August 2014

One-Pot Pasta // Vegan Blogs

One-Pot anything is always a winner in my book. As much as we both love to cook fresh meals there are always those days when I come home from work and just do not want to cook anything. Those are the days when we'll end up with a take-away or something really dull, like beans on toast. I was pretty apprehensive on the whole 'one pot pasta' thing, boiled anything isn't really all that appealing to me... but through pure hope for a simple tasty meal I gave it a go. And I am SO glad I did. 


I used:
      - Spaghetti for two
      - 1 cup of halved plum tomatoes 
      - 1 thinly sliced medium onion
      - 2 finely chopped cloves of garlic
      - 1 1/2 cups of passata
      - 2 teaspoons of dried oregano (or fresh!)
      - 1 teaspoon of seasalt, ground black pepper & 1 of red wine vinegar
      - Enough boiling water to cover everything
      - Splash of olive oil.

It is so simple! Throw everything into a big pot, no order needed. Make sure you ingredients are covered with liquid and bring it to the boil. If your spaghetti is too big for the pot add one cup of water first, bring to the boil and push it down as it softens, then you can add more water if needed to cover everything up. Give the whole thing a stir, lower the heat right down and put the pot lid on. Check every couple of minutes, keep an eye on the level of liquid (If you are running low on sauce and still have hard pasta add a little more water.) and stir. This is a good point to taste test your sauce, if you need more seasoning or more passata add it here; I added some chilli flakes at this point too! When there is a only a little liquid left and your pasta is almost cooked, take off the lid and stir more frequently until you have a much thicker sauce. Then its done! It should only take around 10minutes all in all, and you'll have a delicious pasta and super thick sauce ready for you you to serve up. Enjoy! 

__________________


16 July 2014

Left-Over Chilli Quesadilla // Vegan Blogs

A super quick breakfast idea using left-over chilli. (Is this weird to have for breakfast? I'm not sure...) Chilli is definitely something that is better the next day, if it ever makes it that far... which is kind of rare in our house. But when it does, this is the perfect way to enjoy it. Easy and quick.

Heat up a dry griddle pan to a highish heat. Grab a tortilla (or make your own... which I usually would do, but you know, breakfast should sometimes be lazy) and cover half in cheese; I am not a huge fan of vegan cheese and don't have it too often, but I used this one from tesco, its the best easily accessible non-overpowering dairy-free cheese I have found (England has a pretty limited vegan-cheese selection). Add your left-over chilli (no need to heat it up). You can add pretty much anything you like; spinach would be perfect,  left over rice even better, diced onion, hot sauce or avocado would all be amazing.  I had some left over sweetcorn, so that went in there too, along with some fresh coriander. Fold your tortilla in half and place into your pan. I always squash mine down using a spatula which it cooks. Flip over when you the tortilla starts to get lightly toasted and your cheese is starting to melt. When evenly toasted, cut in half and enjoy with lots of coffee.

________________________

9 July 2014

Raw chili & rice.

Courgette noodles, courgette noodles, courgette noodles. I love them. Hot or cold. They're amazing thrown in at the end of a stir-fry, and they're so good in a salad. A lot of my raw meal ideas are based around them. I've set out to broaden my raw-horizons. So, I decided to make one of my favourite meals; chili and rice! 

The 'rice' is cauliflower rice and is super super simple. If you haven't had it before, IT STINKS, really badly, but I promise it is tasty. I threw quarter of a cauliflower, half a clove of garlic, coriander, chili flakes, salt and black pepper into my food processor until fine; I had a load of fresh peas too so I stirred in some of these too.

For the chili in a food processor whizz up half a cup of walnuts (gives a mince-like texture), half a cup of sun-dried tomatoes and 1 cup of plum (or whatever you have!) tomatoes with ground coriander, cumin and mustard seeds until smooth. If you have fresh chilli process that too, I only had flakes and I put in quarter of a tea-spoon of smoked paprika (I guess paprika isn't technically raw? Right? I dunno...). Season to taste. Separately, dice one large carrot, a small bell pepper, 1 cup of closed-cup mushrooms and finely chop half a large white onion. Stir the sauce with the diced veg, tear some fresh coriander on top. Serve with the 'rice', a load of avocado,  more chili flakes and cover in fresh lemon juice.

The whole time I was eating this I could not believe how good it was. Oh man, I want it again already. Crunchy, sweet, spicy and delicious. And RAW. Its crazy. I probably made about three/four servings so I had it for lunch the next day too. It was even better served extra chilled. Definitely give it a go.

_________________________

30 January 2014

Home-Made Dog Treats

I have been super excited to make some home-made dog treats for our pup since we decided to get her.  I'm not a huge fan of store bought dog-foods, I have a few reasons why but mainly I want to control exactly what my pup eats and so many of those companies test on animals, which is not something I want to support. PLUS, making my own treats means I can play around with ingredients I know she likes and save a little money too.

The first biscuits I made were Peanut butter and Carrot bones. I read a load of recipes and mashed one together from my favourites. I used; 1 large shredded carrot, a cup of oats, 2 cups of flour, 2 tablespoons of Peanut (not added anything) butter and enough water to make a thick cookie-doughish dough. Baked at Gas Mark 5 until they were crispy.


I got the little bone cookie cutter for about £2.50 on ebay and worked out to be the perfect size for our bearded lady. The recipe made way more than I expected and she loved them. (Although, she is a puppy and will eat pretty much anything that is put in front of her...) Once these are all eaten, I'm thinking of making sage flavoured ones and using a meaty stock instead of water.

"Mooorree!!"
___________________

7 October 2013

Pizza. How we do it! // Vegan Blogs

We eat pizza a lot, and the majority of the time it is home made! I have had a few requests to post a recipe on here. But, the problem is, each time we eat make it differently! Sometimes we do a thin base, sometimes we make huge rolled over crusts. The sauce is different, the toppings are different. Everything changes depending on what we want that day. Which I guess, is the beauty of making your own.

But, all these variations make it tough to share one recipe. So, I decided I would share with you some ideas and a quick over-view. As always, with the recipes that I share here, adapt it to what you love. Take out what you done, and add it what you do, like. And, if you have never made yourself pizza, please, please do. Its fun, easy and super satisfying.

The Dough: We generally follow this recipe (and half the ingredients). Recently, we made a trip to an Italian Deli in the village and picked up some semolina flour. Kneading the dough in the semolina gives the finished crust a super crunchy texture. I highly recommend picking up a bag! Roll your dough out thinly!

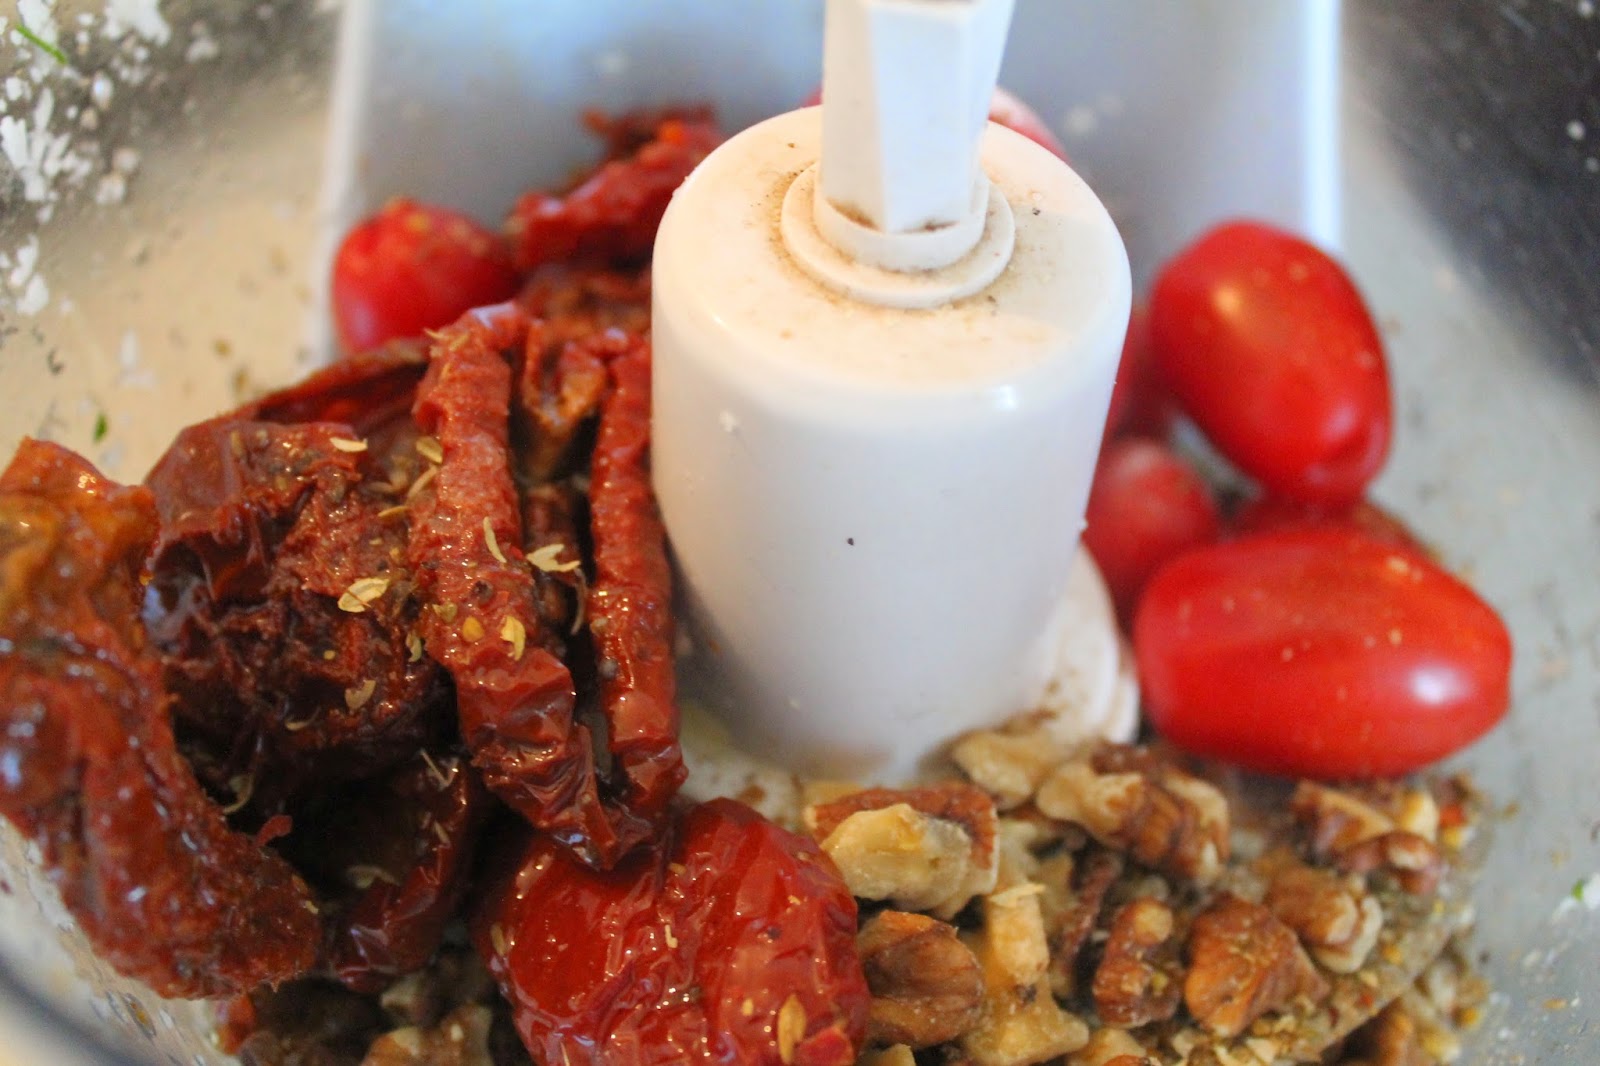
The Sauce: We light it simple and fresh. In a saucepan lightly fry off 2 cloves of garlic and oregano in olive oil. Don't let the garlic burn!! Whizz up a can of plum tomatoes in a blender until smooth. Add the tomatoes to your saucepan with half a teaspoon of baking powered (it takes the bitterness away from the tomatoes without sweetening them too much), salt and pepper to taste; then simmer on a low heat for a 15 minutes.


The Toppings: The best part! Making your very own pizza from scratch means you can build it with all your favourites! Experiment with different mixtures. For this one, I wanted to share with you my current favourite; caramelized onions. Slice up thinly 1 medium onion. Fry them on a medium heat, in olive oil, until they are transparent. Lower the heat right down. Sprinkle over a tablespoon of sugar, add a pinch of salt. And leave for at least 30 minutes, longer if you can bear it. Stir every 5 minutes or so. They should get super sweet, slightly brown and super tasty. Along side this use fresh spinach, olives and a couple of thinly chopped mushrooms. Dixon is a big fan of using feta with these toppings, if you're that cheesy-inclined.

Building it: Heat your oven to about gas mark 7 (220'C). Lightly oil a tray. Add your dough and push out to the sides. Spoon on your tomato base. Don't over do it or you'll end up with a soggy pizza! Next, add your onions, LOADS of them all over. Then the rest of the ingredients followed by a big handful of spinach on top. Season with oregano, black pepper and a little salt. You can add smoked paprika here too. Splash over some olive oil. Bake for 30ish minutes or until crisp. You can check your pizza by tapping the crusts; if they sound hallow you're done! Slice up and serve.


Seriously, if you master this (which is easy as hell to do!); get the sauce right, and the crisp you will kick yourself for ever ever getting a take away pizza or one of those frozen boxed things.


_______________
Lifestyle Blog // Nature, DIY, Coffee // By The Lock Lifestyle Blog // Nature, DIY and Coffee // By The Lock