
There are so many ways to print at home, but I think one of the easiest, cheapest and quickest way is to use rubber erasers! Okay, so you're limited a little by size; but they're perfect for little projects like adding detail to envelopes, photo albums, greeting cards. Or making a repeating pattern for fabric and wrapping paper! They last forever too, so you can store away until the next time you wan't to fancy something up.
I bought a whole pack of erasers from Staples ages ago, I think I got 12 for £2!? The two here are the last from that pack so I thought I'd share what I made! I always start by drawing my stamp design out with biro (pencil rubs off/is too light sometimes). I carve the straight lines first and work inwards (and away from myself and fingers!) using a lino cutter. Once I've finished carving I always play around on paper first to see how it looks. I use acrylic paint for paper or Dylon for fabric; applied with a paint-brush. The less paint the better.
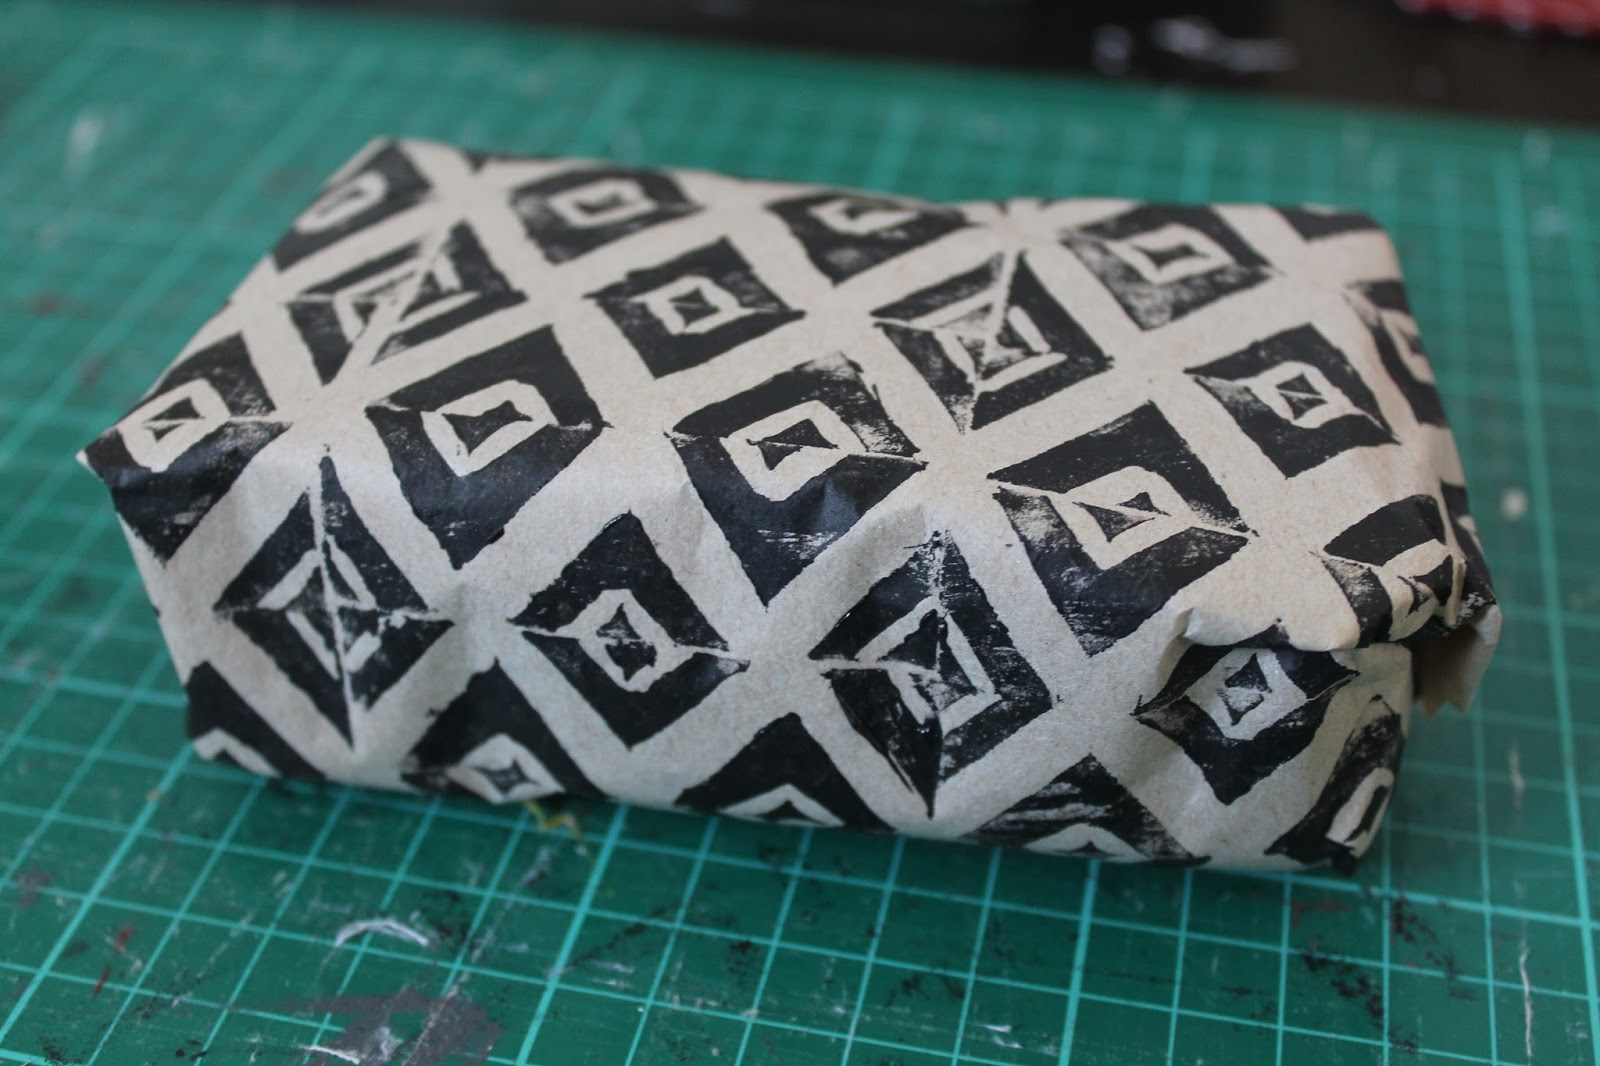
The first triangle shape worked perfectly as a repeated pattern; so good for wrapping paper! The second leafy one I made for the cover of my favourite photo album! I love the way it looks and once it's filled I'll make a stamp of the dates too.


^^This is on some fabric that I dyed


_________________________
The prints came out so well, this is so clever :) I love the layout of your photo album too, it works so well with the print :)
ReplyDeleteLove this! Can't wait to try it out myself :)
ReplyDeleteI love lino printing but it can be pricey, this is such a good idea for little projects!
ReplyDelete